
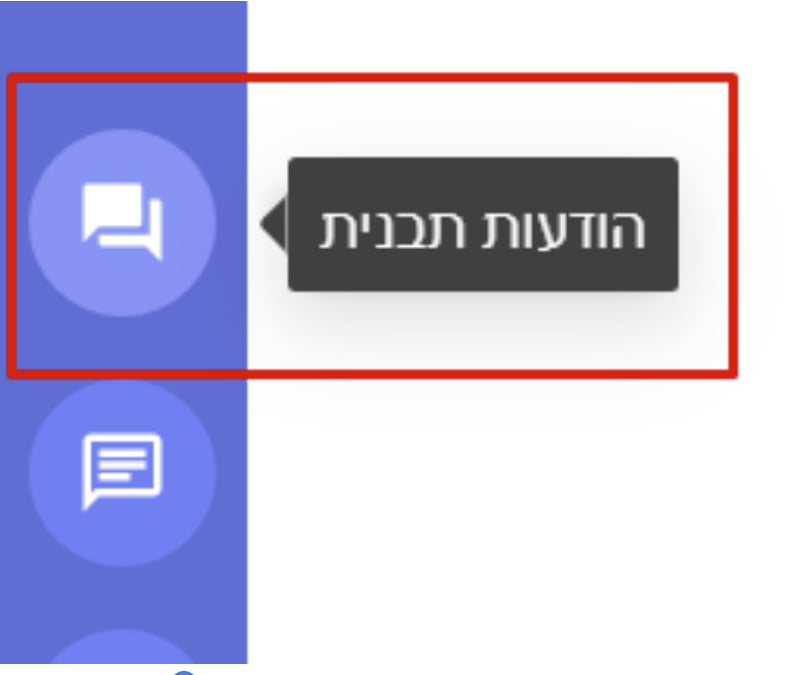
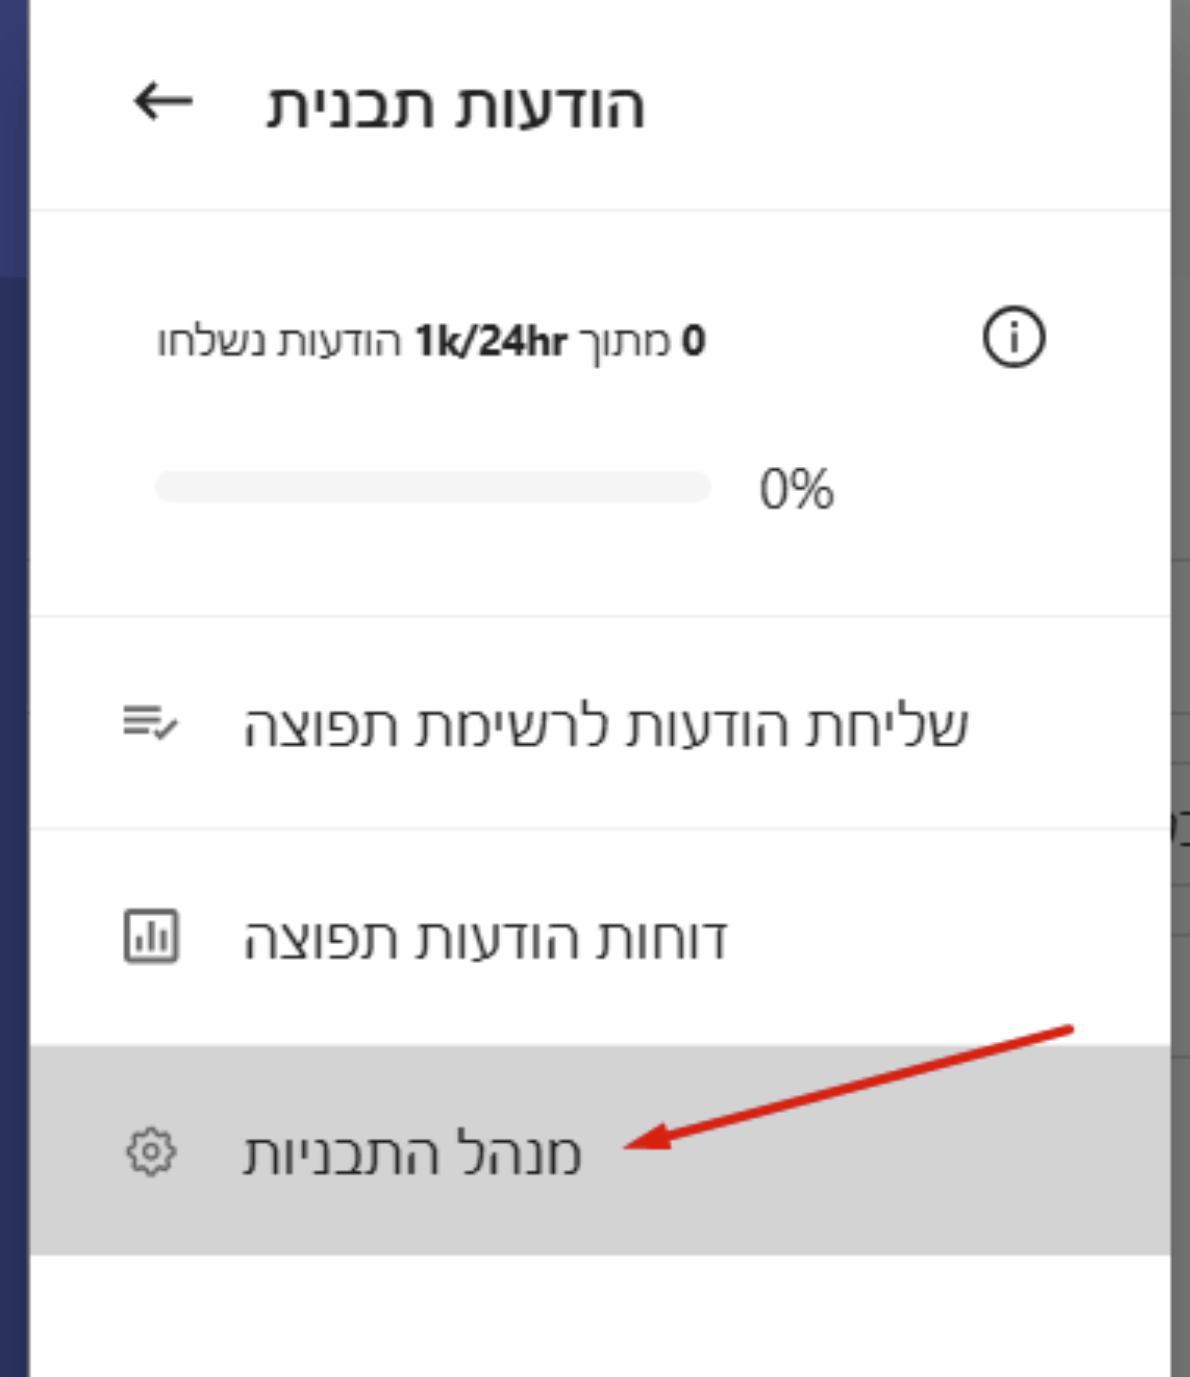
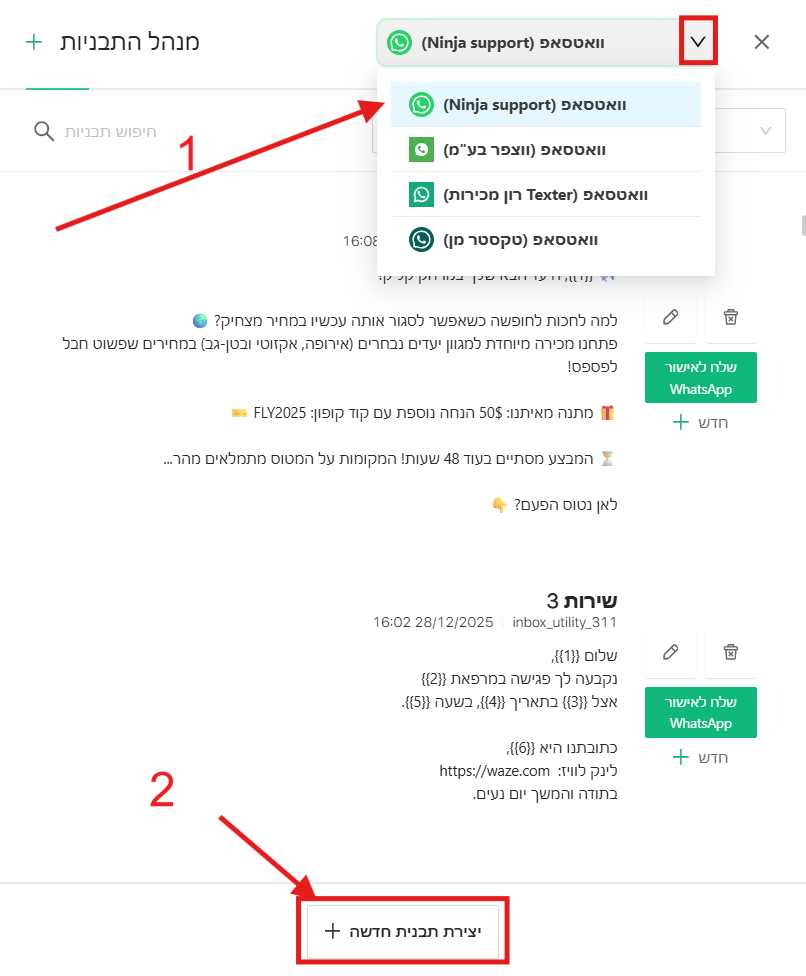
1️⃣ Enter template creation
In the toolbar, click Template Messages. Open Template Manager. Choose the channel where you want to create the template, then click Create New Template.2️⃣ Create the message
🏷️ Template name
Choose a name that will help you identify the template easily in the template list.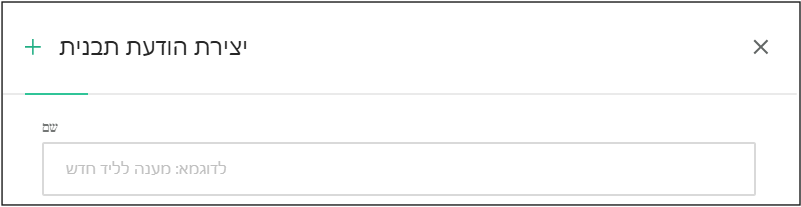
- The name is for internal use only and will not be shown to the customer. You can edit it at any time.
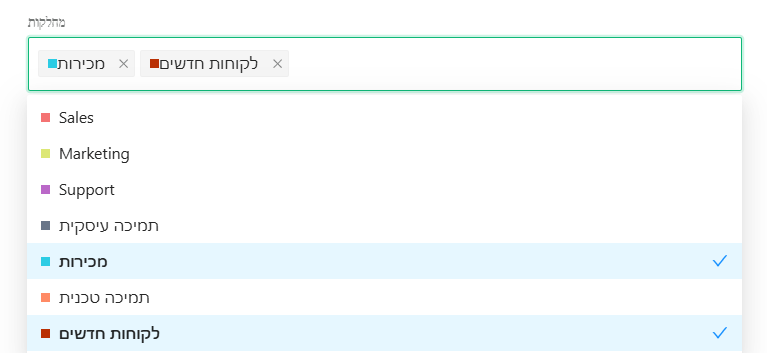
🏢 Department
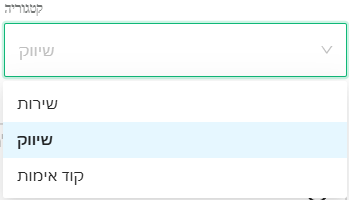
📂 Message category
-
Utility message: Messages sent after a specific customer action or as part of an ongoing process.
- Examples: Purchase confirmation, shipping status update, appointment reminder, or invoice delivery.
-
Marketing message: Messages that include a sales offer, product promotion, or general update intended to increase sales.
- Examples: New collection update, discount coupon, event invitation, or abandoned cart message.
Important: The category you choose may change automatically after submission. Meta reviews the message content and makes the final decision whether it is utility or marketing according to its policy.
✍️ Message body
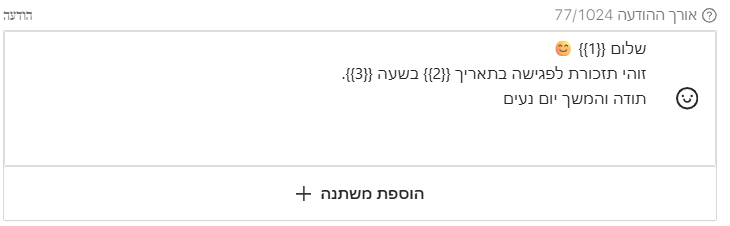
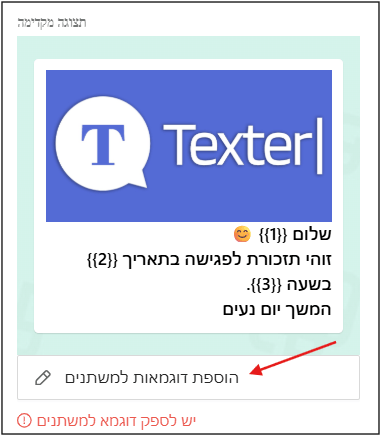
- What do they look like? Variables appear inside double curly braces: {{1}}, {{2}}, and so on.
- Example: “Hello {{1}}, this is a reminder for your appointment on {{2}} at {{3}}.”
- {{1}} will be replaced with the customer’s name.
- {{2}} will be replaced with the date.
- {{3}} will be replaced with the appointment time.
🪪 Template ID
The Template ID is the unique identity of the message in the WhatsApp and Meta systems. It is an internal code that remains permanently assigned to the template, even if the template status changes, for example if it is rejected or deleted.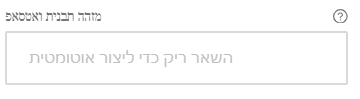
🎯 Template is intended for
At this stage, define how you plan to use the template.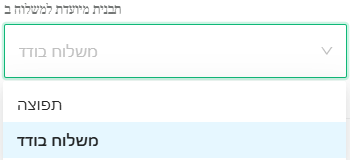
- One-on-One: For individual messages to a single customer, for example “Hi Dana, have a nice day.”
- Bulk/Broadcast: For sending one message to a large group of customers at once.
“To unsubscribe, reply ‘Remove’”
Important:
- Deletion: You can manually remove this line from the message body.
- Recommendation: We recommend not deleting it. The line is meant to protect you and help you comply with regulation and anti-spam rules. Giving customers a simple unsubscribe option protects the quality of your WhatsApp number and helps prevent blocks.
⚙️ Advanced Settings
Preview Throughout the workflow, a preview window appears next to you. It updates in real time and shows exactly how the message will look to the customer, including the header media, body text, and selected buttons.🖼️ Message header
The header is the first visual element the customer sees. You can choose one of these media types: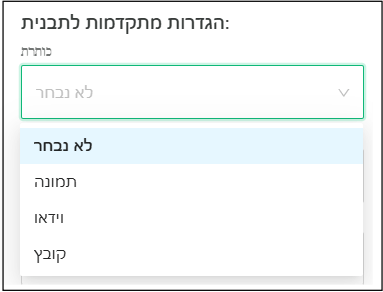
- Image: GIF files cannot be used in the message header. Use a static image only.
- Video: You can upload a video up to 16MB.
- Document: Send a document such as a PDF.
📝 Footer
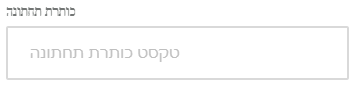
- Manual footer: You can add supporting text such as a company name or legal note.
- Automatic opt-out: If you set the send type to Broadcast, the system automatically creates the text: “To unsubscribe, reply ‘Remove’”.
🔘 Buttons
Adding buttons to the message can significantly improve conversion and make the customer experience easier. There are two button types to choose from: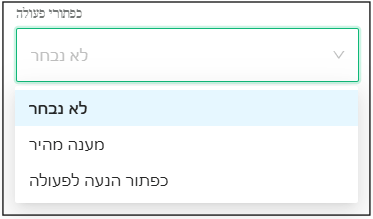
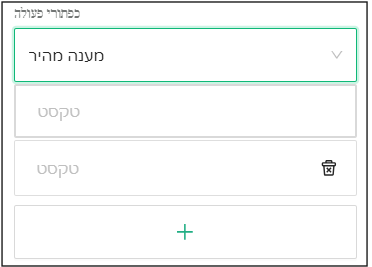
- How it works: Clicking the button sends the button text on behalf of the customer.
- Automation: To trigger a bot or a specific action after clicking the button, contact Texter support to connect the mechanism.
- Tracking: You can track button click counts inside Broadcast Message Reports.
Limits:
- You can add up to 3 buttons.
- Button text is limited to 20 characters per button, including spaces.
- Emoji cannot be added to quick reply buttons.
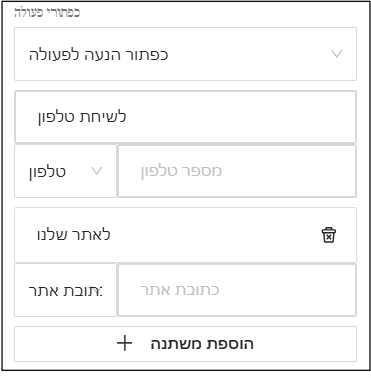
- Phone call: Clicking the button opens the customer’s phone dialer with the configured number ready to call.
- Website or Waze link: Opens a website address or navigation destination. You cannot add a WhatsApp link.
- How it works: Define the base URL, for example your landing page link, and click Add variable {{1}} at the end.
- Usage example: Base URL:
https://your-site.com/orders/- URL with variable:
https://your-site.com/orders/{{1}} - When sending, the variable is replaced with the customer’s specific order number, so the button sends the customer directly to their order.
- URL with variable:
🧩 Edit variables description
Below the preview window, click Add examples for variables. This step is required. Without examples for the variables, WhatsApp will not allow you to submit the template for approval. What do you do in this window? Provide WhatsApp with a representative example for every variable you defined, so it can understand what type of information will be sent to customers.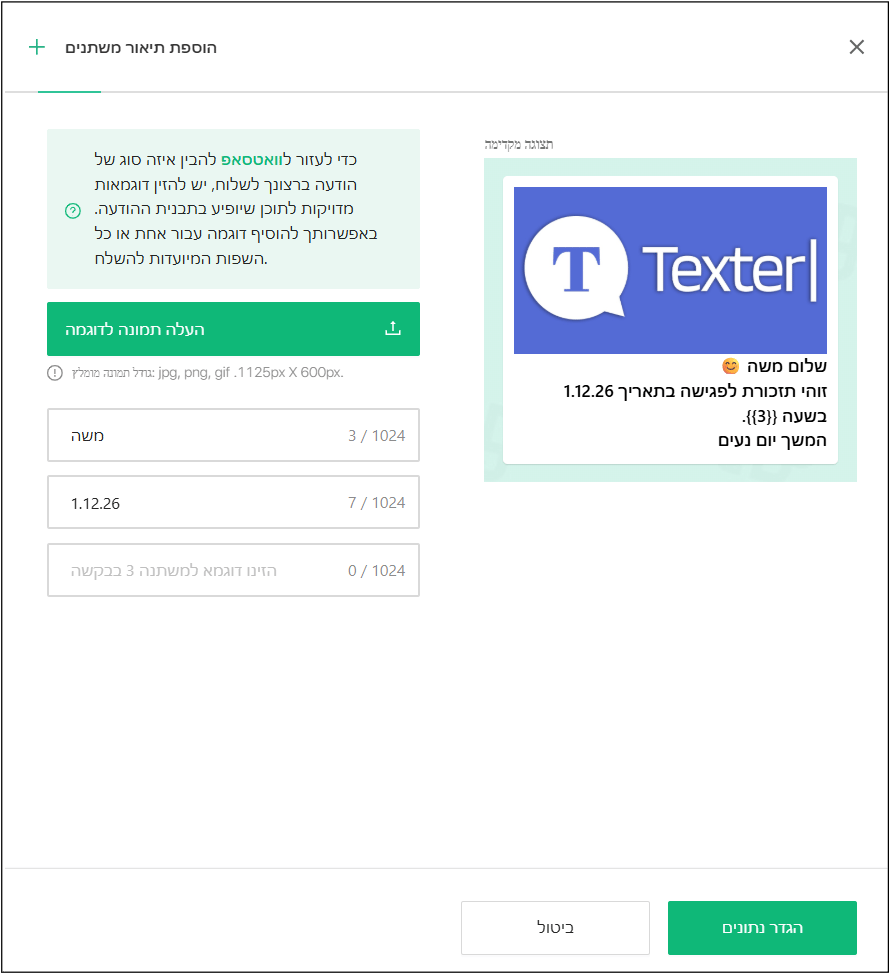
- Media example, if you added a header: If you added an image, video, or file, you will see a button at the top for uploading the example file.
- Text variable examples: For every variable in the message body, such as {{1}} and {{2}}, a matching text field is created.
- What example should you provide? You can enter a real example, such as “John Smith”, or describe the type of information, such as “customer name” or “appointment date”.
3️⃣ Actions after the customer replies
This is where you decide what happens when the customer replies to your message. Setting this correctly ensures the request reaches the right place. These settings can also be changed after the template is submitted for WhatsApp approval. 1. Personal assignment, for single send only
- Note: Do not choose this option if the template is sent from an external system such as a CRM.
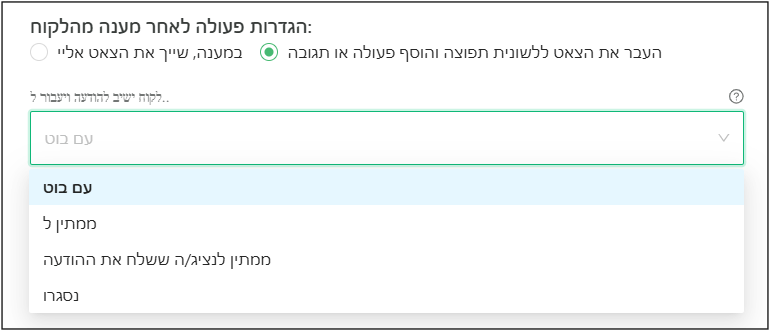
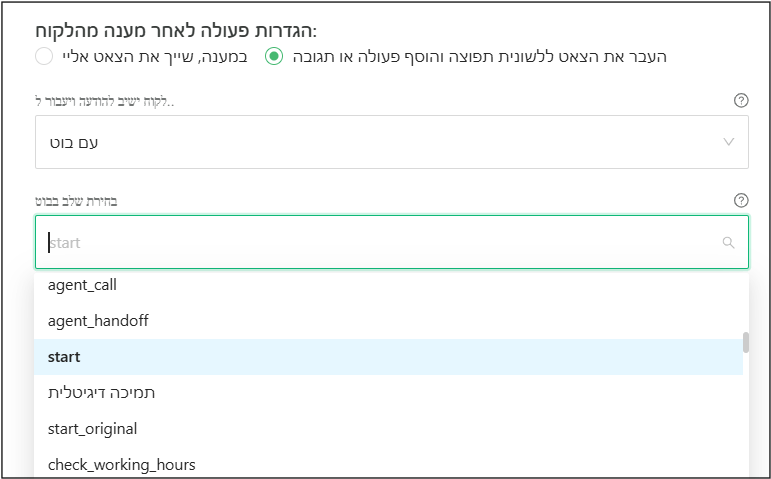
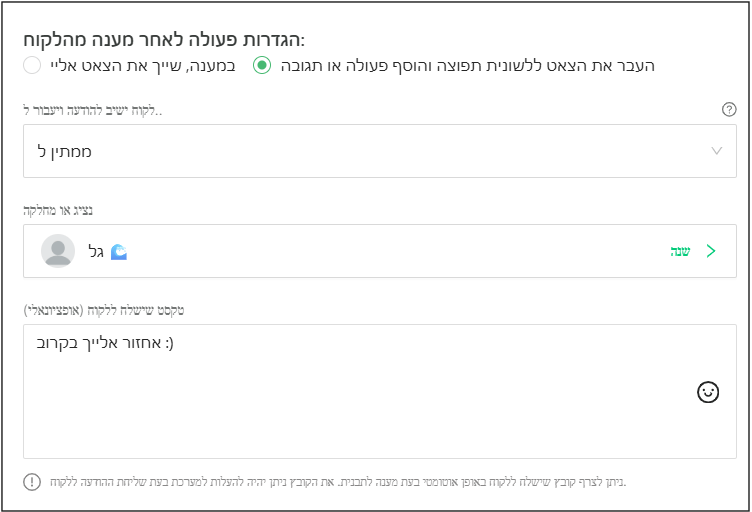
- 🤖 With bot: The chat is automatically moved into a bot conversation. You can choose whether the bot starts from the beginning,
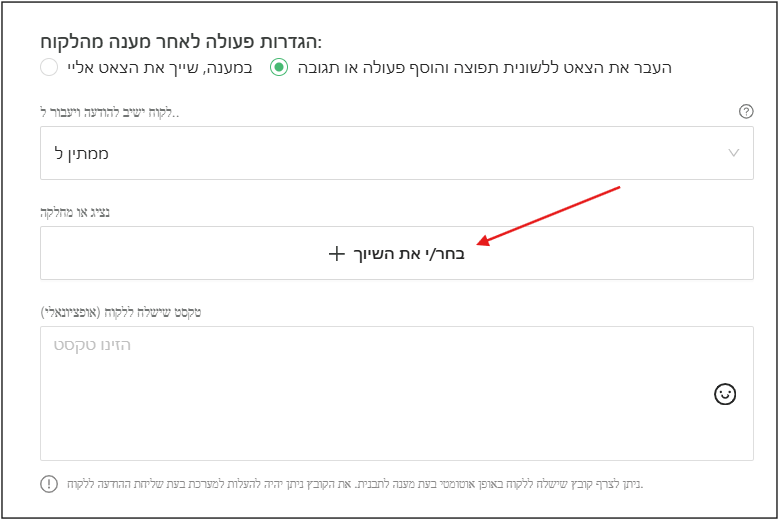
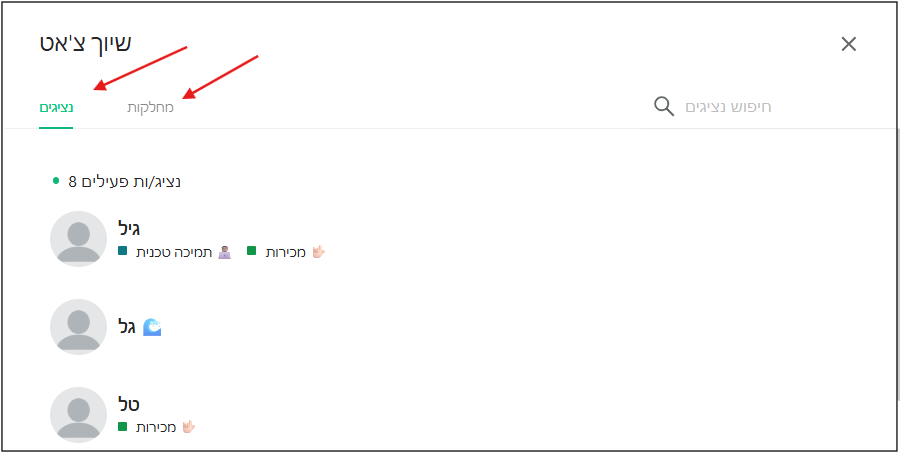
start, or from another specific step in the scenario. - ⏳ Waiting for…: Move the chat to wait for an agent in a specific department or for a specific agent. Click Choose assignment and select the desired target in the window that opens.
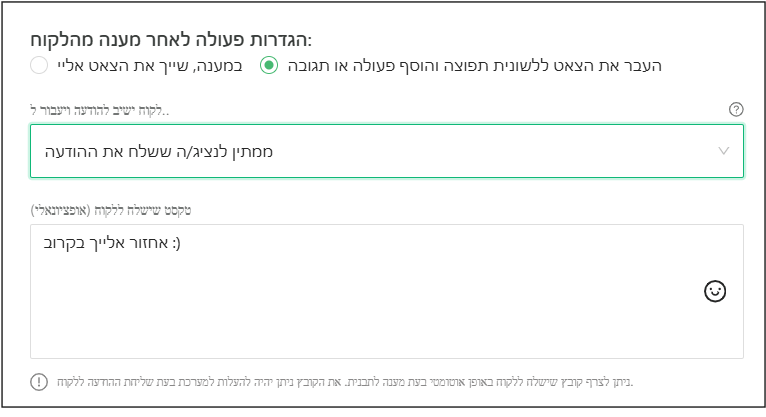
- 👤 Waiting for the agent who sent the message: The chat returns directly to the agent who originally sent it.
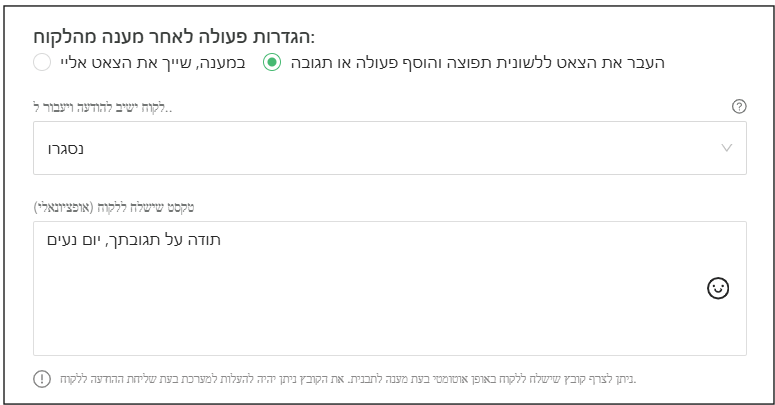
- ✅ Resolved: The chat is automatically resolved after the customer replies.
4️⃣ Finish and submit for WhatsApp approval
Finished all the steps? Now it is time to send the template forward.- Make sure you provided examples for every variable. This is required.
- Click Create Template.
- Click Submit for WhatsApp Approval.
Note:Meta and WhatsApp approval usually takes anywhere from a few minutes to 24 hours.Once the template is submitted for WhatsApp approval, you cannot edit its content. You can still edit the header and reply settings.Refresh the page to see whether the message changed from Pending to Approved.Once the template is approved by WhatsApp, you can start using it 😃
💡 Rules and recommendations for message content
To make sure your template is approved quickly by WhatsApp and is not blocked, follow these rules. 🚫 Hard rules to avoid immediate rejection- Variable placement: Do not start or end the template with a variable. Add text before the first variable and after the last variable.
- Buttons: Do not include emoji inside button text.
- Spaces and line breaks: Do not leave an extra space at the end of a line.
- Do not use a double Enter, meaning an empty line, between paragraphs.
- Do not use 4 consecutive spaces inside the text.
- Text-to-variable ratio: Make sure there is enough fixed text relative to the number of variables. Too many variables with too little text can cause the template to be rejected as spam.
- Recommended method: Prefer links through Call to Action buttons instead of links inside the text.
- Link in message body: If you add a link in the text, place it on a separate line.
- Link accuracy: Make sure there is no period immediately after the link, because it can break the link.
🎥 Video
💬 Need more help?
- Common template message errors.
- Template message examples.
- Contact support.